Search Knowledge Base by Keyword
Getting Started
This article will covered how to used the advanced aspects of the EdgeWise piping smartsheets. Most users will be familiar with the part info smartsheet and chain info smartsheet. However, most users are also only familiar with the normal tools available in these smartsheets from regular usage or trainings. There are more advanced features available in these smartsheets that might help in improving workflow efficiency and troubleshooting.
Advanced Smartsheets – Part Info Smartsheet
First, this article will cover the advanced options in the Part Info Smartsheet. To access this smartsheet, navigate to the Piping tab within EdgeWise. Next, click on the smartsheet drop down button and select Part Info Smartsheet (Q).
Part Info – Buttons

The first button you’ll probably notice is the QA Mode button. For more detailed information on this button and its use, refer to this article here. You’ll find the rest of the buttons at the bottom of the Part Info Smartsheet.
Zoom will snap your camera into a down-the-barrel or broadside view of your selected pipe. This is similar to how the QA Mode works, however, this Zoom feature is accessible even while in perspective view.
Approve will set the approved drop down, for the currently selected pipe, to Yes. Alternatively, you can click the approve drop down and change it to Yes or No.
Refit will attempt to fit the currently selected pipe to the point cloud. This is especially helpful if you are working with rough point cloud data and need to move pipes around manually.
Delete will delete the currently selected pipe.
Part Info – Ribbon

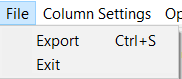
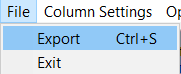
Export will export the part info smartsheet into an editable .csv file. This is especially helpful for cataloging all of the pipe parts that exist in your project.
Exit will simply close the Part Info Smarsheet. Alternatively, you can press the X button in the top right-hand corner, or press Q on your keyboard.
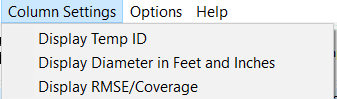
Display Temp ID will add an additional column that shows the unique identifiers for each individual item. This is especially useful for when imports into other deliverables are missing items. A log file will be produced that gives an ID for each item that failed to be produced. These ID numbers are the same as what will display in the Temp ID column.
Display Diameter in Feet and Inches will add a column to your part info smartsheet that displays your pipe parts in feet and inches in addition to your current metric setting.
Display RMSE/Coverage will display an RMSE and Coverage percentage column. These columns are automatically display when you enter QA Mode.
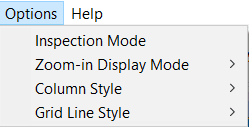
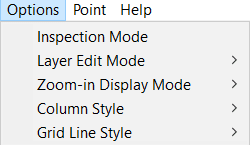
Inspection Mode is a toggle that basically jumps you into QA Mode. Inspection Mode will keep you locked into orthographic and a down-the-barrel/broadside view of any pipe you select.
Zoom-in Display Mode allows you to switch your inspection, zoom, and QA views between down-the-barrel and broadside.

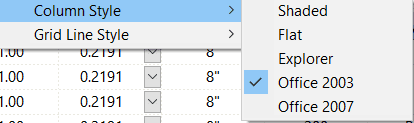
Column Style is a visual adjuster for the part info smartsheet.
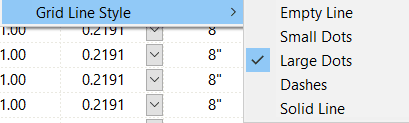
Grid Line Style is a visual adjuster for the part info smartsheet.
Advanced Smartsheets – Chain Info Smartsheet
The rest of this article will cover the advanced options in the Chain Info Smartsheet. To access this smartsheet, navigate to the Piping tab within EdgeWise. Next, click on the smartsheet drop down button and select Chain Info Smartsheet (I).
Chain Info – Buttons

Zoom in the chain info smartsheet operates identically to the zoom button in the part info smartsheet. It will zoom in on your currently selected chain.
Clean will “clean” the currently select chain(s). See this article for more information.
Multi-Edit allows you to make a variety of adjustments to the selected pipe chains. See the Clean Pipes & Apply Standards and How to Utilize Layers articles.
Delete will delete the currently selected chain.
Chain Info – Ribbon

Export produces a .csv file of the information in the chain info smartsheet.
Exit will close the chain info smartsheet. Alternatively you can press the X button in the top right-hand corner or press the I key on your keyboard.
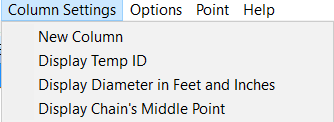
New Column will produce a new blank column in the chain info smartsheet. It is recommended to avoid this feature as it is known to cause crashes.
Display Temp ID displays the identification number column in the chain info smartsheet. However, the Temp ID column in the part info smartsheet is what is referenced by log files for import into other software.
Display Diameter in Feet and Inches will add a column to your part info smartsheet that displays your pipe parts in feet and inches in addition to your current metric setting.
Display Chain’s Middle Point will create three new columns in the chain info smartsheet. These columns will display the center X, Y, and Z coordinate points for your pipe chains.
Inspection Mode, Zoom-in Display Mode, Column Style, and Grid Line Style are all explained above.

Layer Edit Mode allows you to change between Type-in Mode and Layer Spec Mode. Refer to this article for more information on Layers.
The Points column options have been known to cause issues. Ignore this column. The Help option opens up information about your version of EdgeWise as well as license information.