Search Knowledge Base by Keyword
Getting Started
This article will cover how to edit the bend radius of elbows. In the usual piping workflow, the easy connect tool is usually ran. In addition, you will probably perform some semi-automated connections. Both of these instances will insert elbows between pipes. However, EdgeWise automatically inserts pipe elbows at a default 1.5 bend radius, so if you wish to account for different bend radii, you will need to edit the bend radius.
Edit Bend Radius of Elbows
To begin editing the bend radius of an elbow, select the Edit (E) tool in the Piping tab. Next, select the elbow you wish to edit. The Elbow Resizing dialogue will appear.
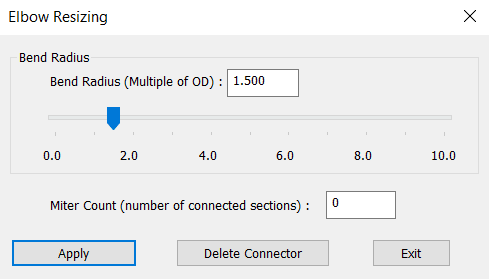
The Bend Radius slider allows you to adjust the elbow bend radius in real time. This allows you to slowly move the slider to help best find the proper bend radius according to the point cloud. You may also type in the bend radius in the type-in field. For example, if I knew the following elbow was a 3D bend radius, I can just type in “3” in the bend radius type-in box.
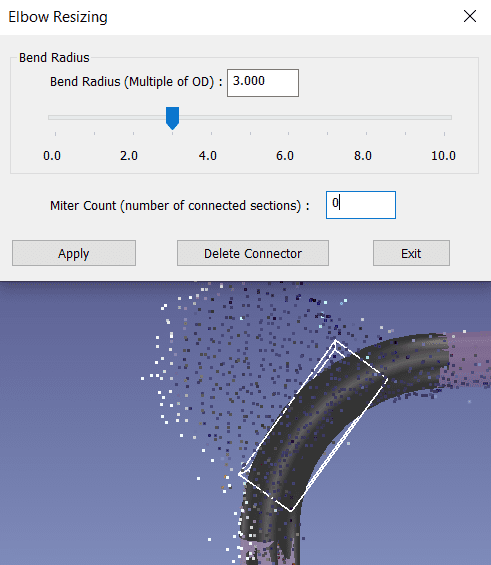
Miter Count is the number of miter joints preset. A value of 0 means a smooth elbow. Entering -1 will create a 90-degree miter. A value of 1-8 will produce that amount of miter connections.
Once you have finished editing your elbow, click Apply and then click Exit. Alternatively, you may press your Enter key on your keyboard after editing to apply and close the dialog. You may also click Delete Connector to delete the elbow. However, this is done easier by simply selecting the elbow with your Edit tool and then pressing the Delete key or Backspace key on your keyboard.