Search Knowledge Base by Keyword
Getting Started
The building module inside of EdgeWise offers a fully automated algorithm that performs automatic wall extraction. This article will cover the different Export options within the building module in EdgeWise.
Once you’ve finished modifying your Building model inside of EdgeWise you will be ready to export. If you still have elements left to extract refer to the Automatic Wall Extraction, and Semi-Automated Extraction and Modification articles for more information.
Revit
Navigate to the File tab and click Export to Revit. Save your .c3rvt file and proceed to use the EdgeWise Import Plugin within Revit to import your data.
COE
To export using the COE format, click the Export drop-down button in the File tab, and choose either the AutoCAD or MicroStation COE format options. The COE format requires the Leica COE plugin, which can be found here.
STEP
The STEP export option can be found under the Export drop-down menu in the File tab. While this format does not preserve intelligence, it will still export simple geometry.
Smart Points
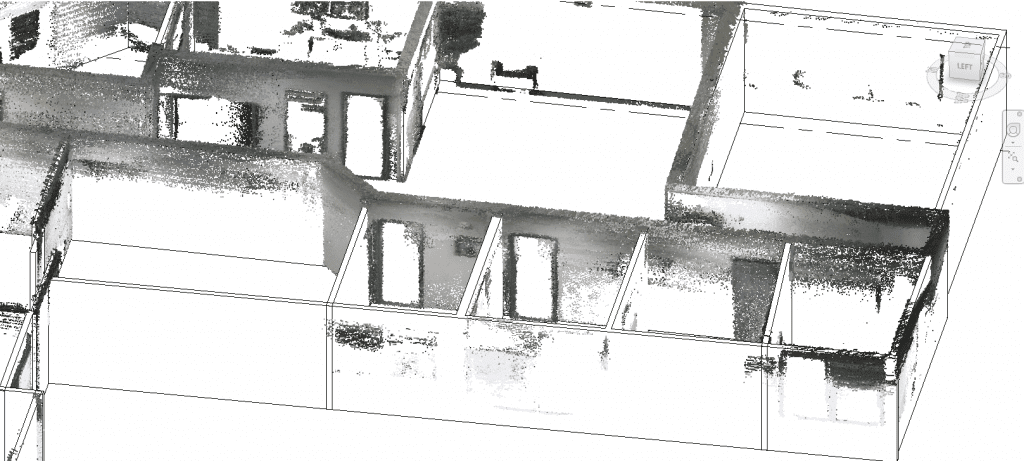
The last export option is Smart Points. This format allows you to export only the point data associated with your modeled elements. Begin by selecting the Smart Points export option. Then, set your Inclusive Distance and then select OK.
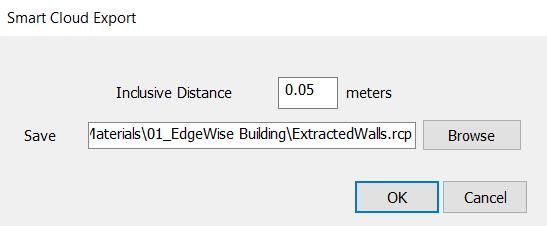
The Inclusive Distance is the additional distance away from your selected elements you’d like to include in the resulting file.
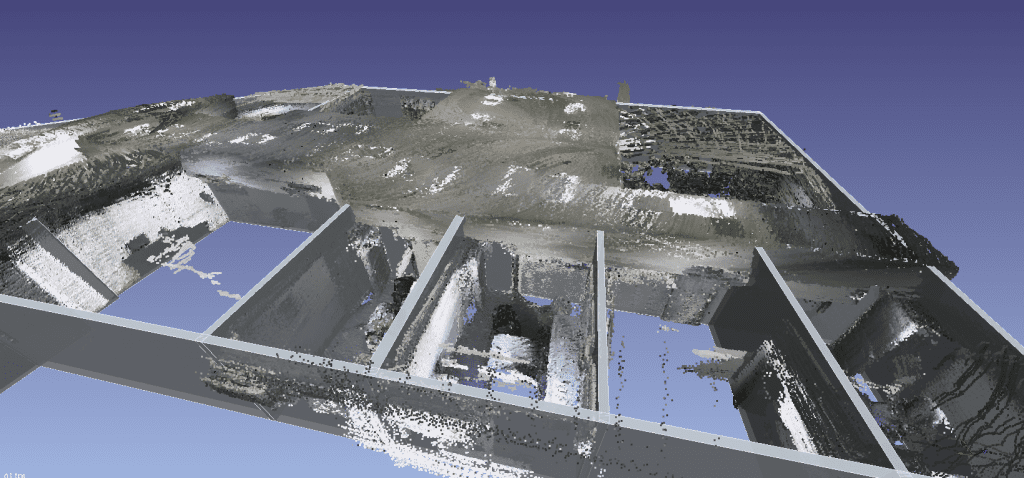
The corresponding .RCP or .PTS file can then be loaded into your deliverable.
Now, proceed to the Revit Importer step in the workflow.